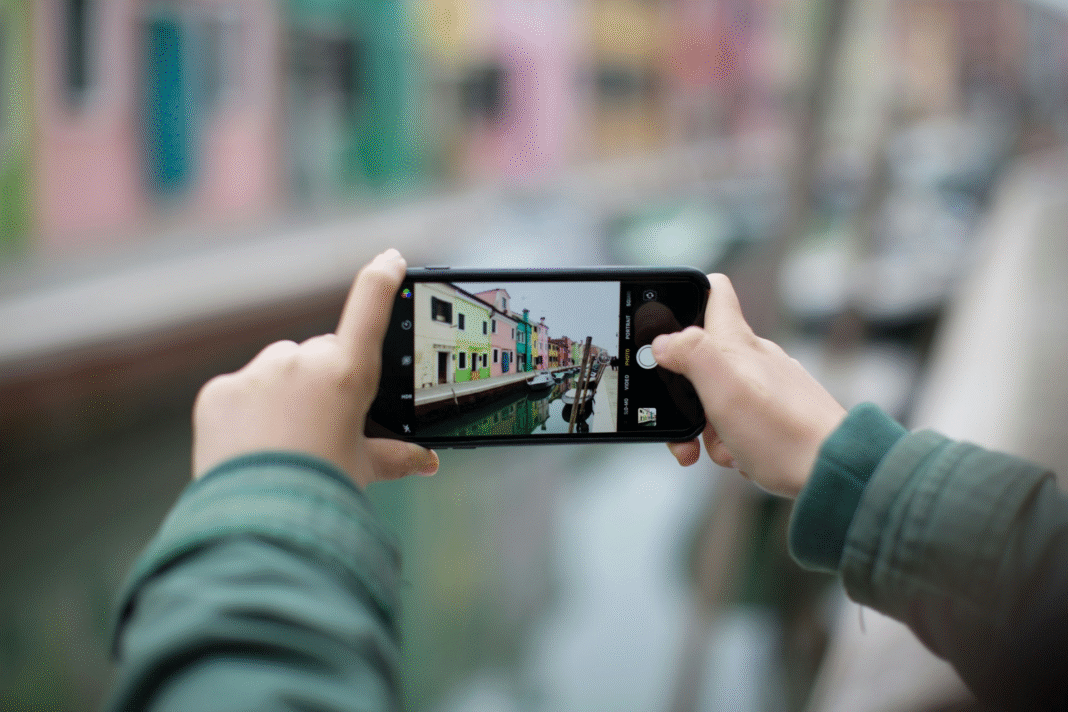
Gone are the days when you needed a heavy DSLR camera and expensive lenses to capture stunning, professional-quality photos. Today, your smartphone is a powerful photography tool that can deliver results close to professional cameras if you know how to use it right. Whether you want to capture breathtaking landscapes, portraits, or product shots, your phone can do it all with a bit of skill and creativity.
In this article, we’ll explore practical, easy-to-follow tips on how to take professional photos with your phone—no fancy equipment required.
Why Use Your Phone for Photography?
Before we jump into techniques, let’s quickly understand why phone photography is so popular:
- Convenience: Your phone is always with you, making it easy to capture spontaneous moments.
- Advanced Technology: Modern smartphones come with multiple lenses, night mode, portrait mode, and editing features.
- Portability: Lighter and easier to carry compared to bulky cameras.
- Sharing Made Simple: Instantly upload or share photos on social media.
The secret lies not in the device but in how you use it.
Tips to Take Professional Photos with Your Phone
1. Clean Your Lens
It sounds simple, but it’s often overlooked. Phones spend a lot of time in pockets and bags, which makes the lens collect dust and fingerprints. A dirty lens leads to blurry, hazy images.
Tip: Use a microfiber cloth or soft tissue to gently clean your lens before shooting.
2. Use Natural Light Whenever Possible
Lighting is everything in photography. The best professional-looking photos often use natural light.
- Shoot during the golden hour (early morning or late afternoon) for soft, warm tones.
- Avoid harsh midday sun, which creates unwanted shadows.
- If indoors, shoot near a window for flattering natural light.
3. Understand Composition Rules
A well-composed photo instantly looks professional. Use these simple composition techniques:
- Rule of Thirds: Turn on your phone’s grid lines and position your subject along the lines or intersections.
- Leading Lines: Use roads, fences, or pathways to guide the viewer’s eyes toward your subject.
- Symmetry: Capture reflections, buildings, or patterns for visually pleasing balance.
- Negative Space: Leave empty space around your subject to create a minimalist, professional feel.
4. Focus and Adjust Exposure Manually
Most phones allow you to tap the screen to focus. Once you do, adjust the exposure (brightness) by sliding your finger up or down.
- For portraits: Focus on the eyes.
- For landscapes: Tap the horizon to balance the light.
Pro Tip: Lock your focus and exposure if you’re shooting moving objects.
5. Keep Your Hands Steady
Shaky hands lead to blurry photos.
- Hold your phone with both hands.
- Rest your elbows on a solid surface for extra stability.
- Use your phone’s volume button or a remote shutter to avoid camera shake.
6. Avoid Using Digital Zoom
Zooming with your fingers reduces image quality because it crops the photo. Instead:
- Move closer to your subject.
- If your phone has multiple lenses (wide, telephoto), switch between them instead of pinching to zoom.
7. Pay Attention to Backgrounds
Cluttered or distracting backgrounds can ruin a great shot.
- Choose simple, clean backgrounds.
- Change your angle if something distracting is behind your subject.
- Use portrait mode to blur the background and make your subject stand out.
8. Experiment with Angles and Perspectives
Don’t always shoot from eye level. Professional photos often look different because of unique perspectives.
- Try shooting from a low angle for dramatic effects.
- Capture from above for flat-lay or food photography.
- Tilt your phone slightly to create creative, dynamic frames.
9. Edit Your Photos Like a Pro
Editing can take your photos from good to stunning. You don’t need Photoshop—simple apps like Snapseed, Lightroom Mobile, or VSCO work wonders.
- Adjust brightness, contrast, and saturation.
- Crop and straighten your photo.
- Add filters sparingly (less is more).
Note: The goal of editing is to enhance, not overdo.
10. Use HDR Mode Wisely
HDR (High Dynamic Range) helps balance light and dark areas in a photo.
- Great for landscapes with bright skies and dark grounds.
- Not ideal for moving subjects (it can cause blurring).
11. Practice Portrait Photography Techniques
Modern phones come with portrait mode, which simulates DSLR-like background blur. To improve:
- Use natural light from the side for depth.
- Avoid harsh shadows on the face.
- Keep the background simple.
12. Try Night Mode for Low Light
Low-light photos are tricky, but night mode can help.
- Hold your phone very steady during long exposures.
- Use nearby lights (lamps, candles, streetlights) to illuminate your subject creatively.
13. Use Props and Leading Elements
Props like coffee mugs, books, or flowers can make your photos more engaging. Use objects around your subject to add depth and storytelling.
14. Practice, Practice, Practice
Professional photographers didn’t become great overnight. The more you practice, the better you’ll understand light, angles, and settings.
Mistakes to Avoid in Phone Photography
- Using the front camera for important shots (rear cameras are usually higher quality).
- Overusing filters that make photos look unnatural.
- Ignoring light direction (backlighting without intention creates silhouettes).
- Forgetting to clean your lens regularly.
The Advantages of Phone Photography Over Cameras
- Affordable: No need for thousands of dollars in gear.
- Easy Sharing: Post instantly to social media.
- Accessible: Anyone can start with just their phone.
- Creative Freedom: Apps, filters, and tools make experimentation easier.
Final Thoughts
Learning how to take professional photos with your phone is not about having the latest model—it’s about mastering techniques like lighting, composition, and editing. Your smartphone can be a professional tool if you use it wisely.
So next time you’re about to snap a picture, remember: clean your lens, find good lighting, compose thoughtfully, and edit with care. With practice, you’ll soon be taking photos that not only look professional but also tell powerful stories.
FAQs
1. Can phone photos really look professional?
Yes! With modern phone cameras and the right techniques, you can capture professional-quality photos suitable for social media, blogs, and even prints.
2. Do I need special apps to take better photos?
Not necessarily. Your phone’s camera app is powerful enough, but apps like Lightroom, Snapseed, or VSCO help with editing and enhancements.
3. What’s the best lighting for phone photography?
Natural light, especially during golden hour (early morning or late afternoon), works best for professional-looking photos.
4. How can I avoid blurry photos on my phone?
Keep your hands steady, use both hands, or use a tripod/volume button for shutter control. Good lighting also reduces blur.
5. Should I invest in extra phone photography gear?
It’s optional. Accessories like tripods, clip-on lenses, or portable lights can enhance your shots, but great photos are possible with just your phone.


